Responsive registration form is a great project for beginners. Would you like to know how to create a simple registration form using HTML and CSS?
No need to worry, this tutorial will help you. Here I have shown how the Responsive Registration Form HTML CSS is created.
Many times we see such forms on different websites when we create a new account. Registration pages are twofold. One where an account can be created with a little bit of information. In another case, a lot of information has to be given.
Responsive Registration Form
This design is made very simple. There are four places to input and two dropdown style boxes. Among the places to input are first name, last name, email id, and mobile number. There are also two Sylhet boxes.
There is a small button at the end of all to submit. All in all, it is a beautiful and awesome registration form that has been created with the help of HTML and CSS. The most important point is that I did not use any kind of bootstrap here to create this HTML Registration Form.
First I made a box on the webpage. I used a heading in that box. This heading uses blue color in the background to make it look more beautiful and clear. Then there is space to input first name and last name.
These two inputs are positioned side by side. Then the email ID and mobile number are in the input field. You can create many more input boxes here if you want.
Responsive Registration Form HTML CSS
In this article, you will fully know how I have created a simple registration form in HTML. For this, you need to have a basic idea about HTML and CSS. If you know the basics then you can learn how to create a registration form from this tutorial.
At the end of all, you will get a download button where you will get the required source code. First, create an HTML and CSS file then follow the complete instructions given below.
Step 1: Basic structure of registration form
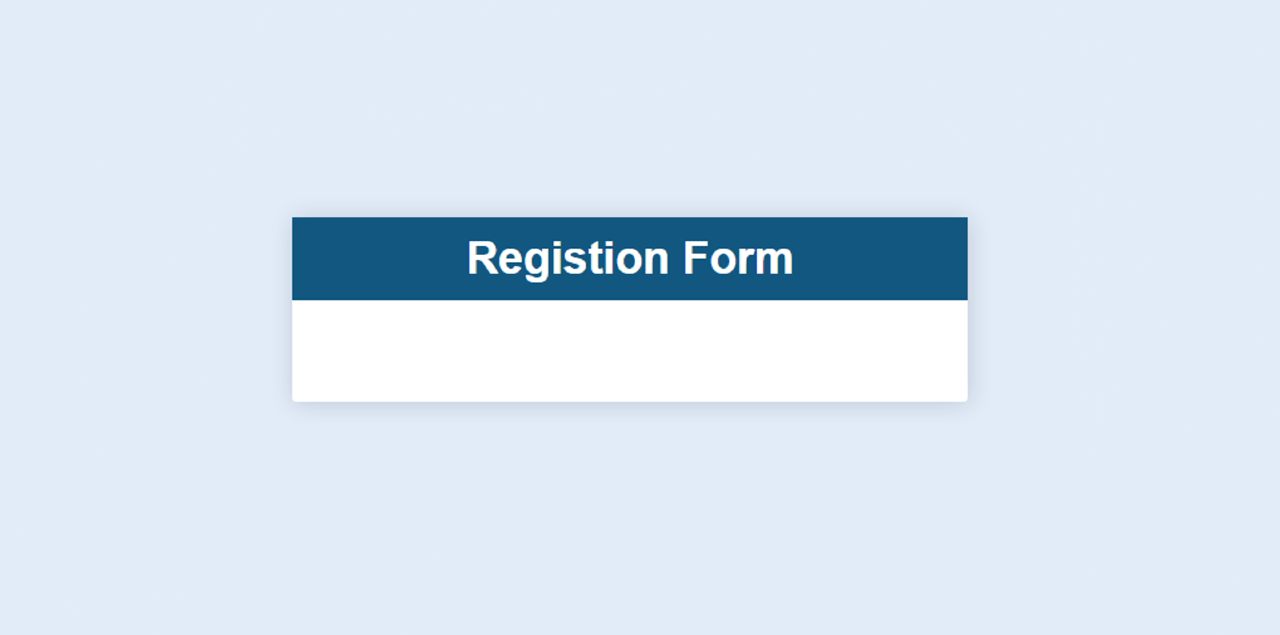
I have created the basic structure of the registration form using the following HTML and CSS. I used light blue as the background color of the web page and white as the background color of this box.
The height here will depend on the amount of content. A shadow has been used all around which has further enhanced the beauty.
Step 2: Add headings to the form
Now I have added a heading or title to the Registration Form. I have used h2 tags for headings. Then I designed it with the help of CSS.
I used text-align: center to keep the text in the middle and I used blue as the background color. Font-size: 19px helped to increase the text size a bit.
Step 3: Create a box to input the name
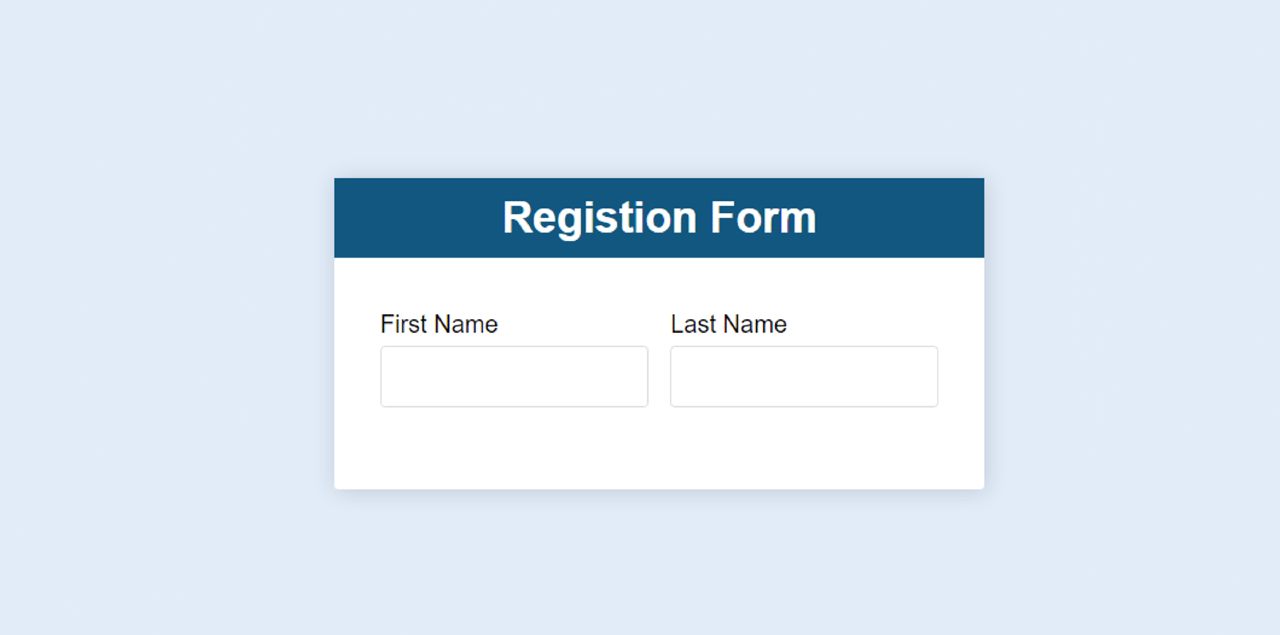
Now I have created a box to input first name and last name using the input function.
Now I have designed the places to input with the help of CSS. Here I have added the code required to design the input box. As a result, there is no need to add a separate CSS code for other input boxes.
Also if you create a lot more input boxes then you don't have to add any extra CSS. The height of the input space depends on the padding.
Step 3: Create email and phone no input boxes
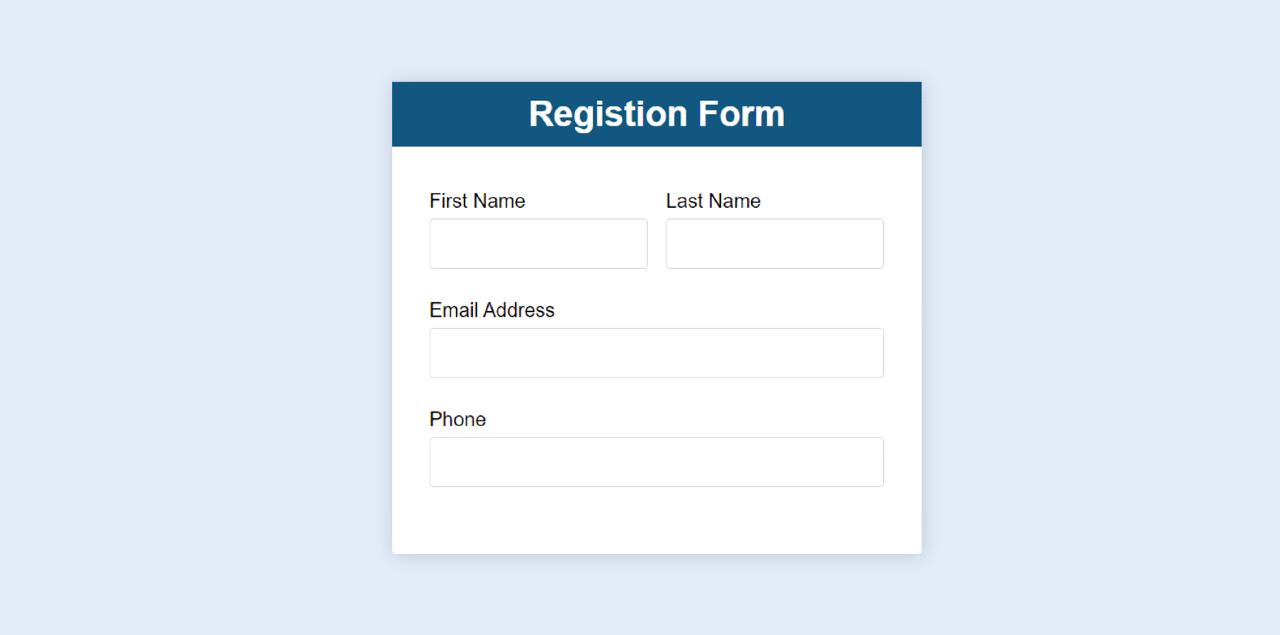
Now I have created a place to input the email ID in this registration form. I used levels to add text.
Now, this is how I created an input box to input phone numbers.
Step 4: Create a select box in the Registration Form
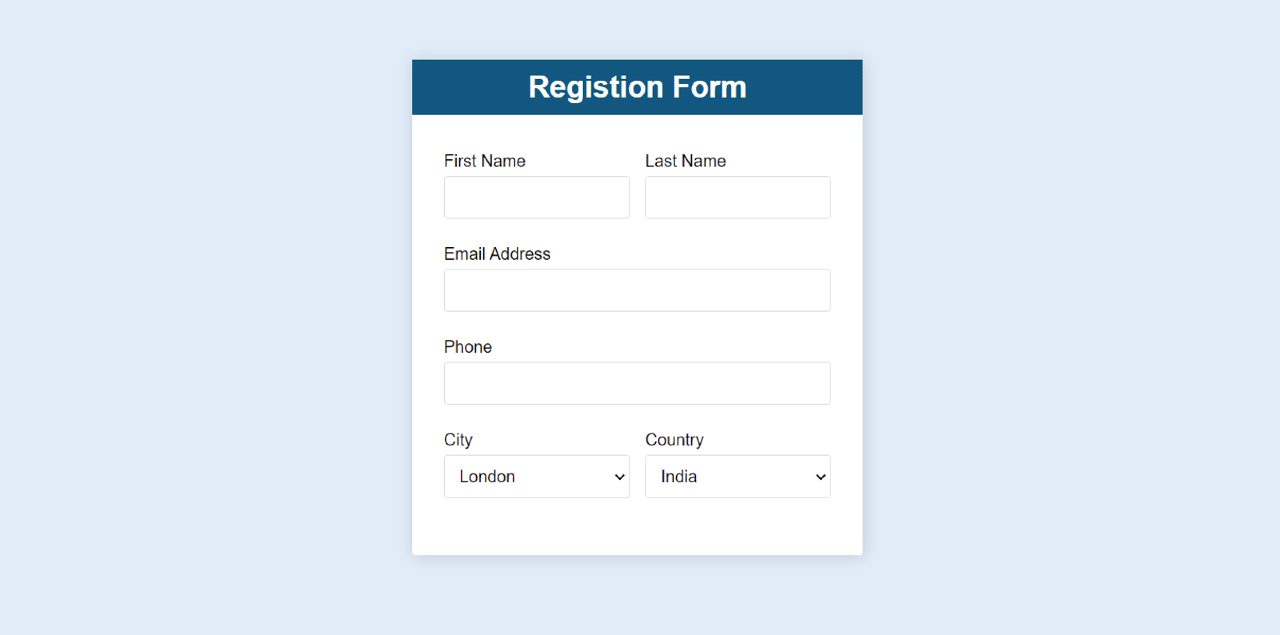
Now I have created a dropdown selection box in this simple registration form. Two such Sylhet boxes have been used here.
By clicking on the box you will see many types of dropdowns here. You will click on whichever menu is correct. I have used two dropdowns here, one for the country and the other for the city.
Step 5: Create a button in the HTML registration form
Now I have created a registration button. For this, I have used the input function. This button is equal to the length of the entire form. I have used blue as the background color and its height depends on the padding.
Hope you learned from this tutorial how I created this simple registration form using HTML and CSS. If there is any problem while making this Responsive Registration Form, you can definitely let me know by commenting. Below you will find the required source code download link.


