In this article, you will learn how to create an automatic image slider using HTML CSS, and JavaScript code. Earlier I shared with you many more types of manual and automatic image sliders. Like other designs, I hope you like this design.
Image slider is a common web element that is currently used in many websites. It is mainly used for the slideshow on the website's homepage. This type of Auto Image Slideshow is also used to organize many images in a gallery.
There are two types of image sliders, one automatic and the other manual. In the case of the automatic image slider, the image will change automatically at regular intervals. In the case of the manual, you need to change the image using the Next and Previous buttons.
Automatic Image Slider
In this case, the image can be changed automatically and manually. This means that it will automatically change the image and you can also change the image using the Next and Previs buttons separately.
The design can only be created with the help of HTML and CSS but in this case, I have used JavaScript programming code.
If you want to know how these automatic image slideshows work then you can watch the live demo below. Below I have given the source code so you can copy them if you want. You can also download the code using the download button at the bottom of the article.
See the Pen slider by Foolish Developer (@fghty) on CodePen.
As you can see in the demo above, this is a very simple image slider with automatic and manual image changes.
In this case, I have used a total of five images but you can use many more if you want. The image will change automatically every 5 seconds. There are also two buttons to change the image.
Automatic Image Slider in Html, CSS, and Javascript
If you know basic HTML CSS and JavaScript then you can easily understand this design. To create this automatic image slider, first, you need to create an HTML and CSS file.
In this case, I did not create a separate JavaScript file, but you can create a separate file if you want.
Step 1: Create the basic structure of the slider
I have used a little HTML and CSS code below to create the background of this slider. In this case, I have used the slider height 256 px and width 500 px.
I didn't use any different colors in the background. If you have seen the demo, you will understand that a shadow has been used around this slide for which I have used box-shadow: 0 0 30px rgba(0, 0, 0, 0.3) here.
Step 2: Add the required images
I have added images to this Automatic Image Slider using the code below and designed those images. I have used a total of five images you can increase or decrease as you wish.
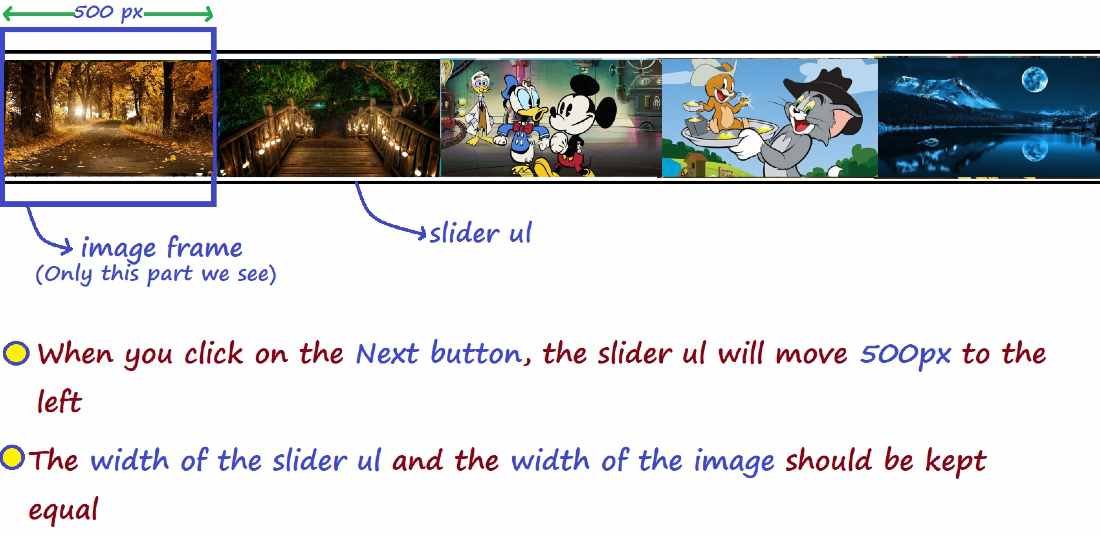
If you take a closer look at the CSS code below, you will understand that I have used Slider Ul Width 10000%.
You may wonder why I used 10,000% here. Take a good look at the image below to understand why and how this slider works.
In this case, the height of the image is 256 px and the width is 500 px. Of course in this case you will use the same size of each image.
Step 3: Add prev and next button
Now we will add the Previs and Next buttons to this slider. The HTML and CSS code below helped to add and design these two buttons.
Step 4: Determine the exact location of the two buttons
I have used a little CSS below to place these two buttons in their proper place. I kept the Previs button 10 pixels away from the left.
I kept the next button 10 px away from the right. As a result, these two buttons are located on either side of the slider.
I have used the following CSS code to use a small amount of hover effect in the background of these two buttons.
Step 5: Activate the image slider by adding JavaScript code
So far we have only designed it, now we will implement the image change of this slider.
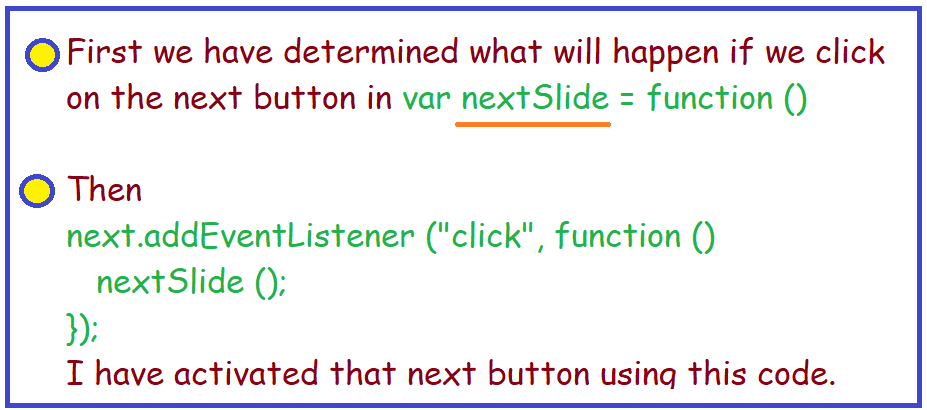
First of all, we will decide in advance what kind of work will be done by clicking on the Next button. If you are a beginner then first of all look at the code structure below. Then follow the explanation below which will help you understand better.

As we have seen, in the nextSlide variable, we have stored how the Next button will work.
First, we added value if (count <items) this code will work when the amount of image is more than count.
Using else if (count = items) we have determined what will happen if the previous function does not work. If both the image and the count are equal then there will be no change in the slider.
'count' is the number of times you clicked on the button. If you click on that button once, the value of the count is one. If you click three times at once, the value of the account is 3.
We have decided what kind of change will happen if we click on the Next button. Now we will implement the previous button.
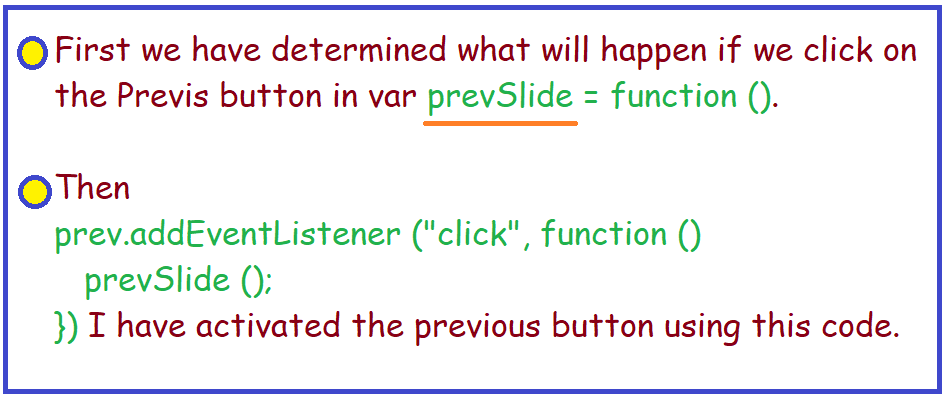
Similarly here we have determined what kind of effect will work if you click on the previous button.

Determining what kind of effect will work when clicking the previous and Next buttons in this Automatic Image Slider. Now we will associate those effects with two buttons.
As I said earlier, we have stored how the Next button will work in a constant called 'next Slider'. Now below we have instructed that if you click on the Next button, that constant will work.
We've saved what works on the previous button in the 'prevSlide'. Now below we have instructed that if you click on the previous button, that constant will work.
Since this is an automatic image slider, in this case, I have arranged for the image to change automatically. Here I have used 5000 i.e. 5 seconds. This means the image will change every 5 seconds. If you want the images to change every 2 seconds, use 2000 instead of 5000 here.
Hope you learned from this tutorial how I created this beautiful automatic image slider using HTML CSS and JavaScript code. If you want to download the required source code, you can use the download button below.
If you have any problem understanding how to make this auto image slider then you can definitely let me know by commenting.


