In this article, you will learn how to convert Textarea Text to File using JavaScript. This is a great project for beginners. There is a box here, you can convert the contents of that box into a file. Many times in a project you need to save the text content to the file later. In that case, you can use this JavaScript Create and Save text file project.
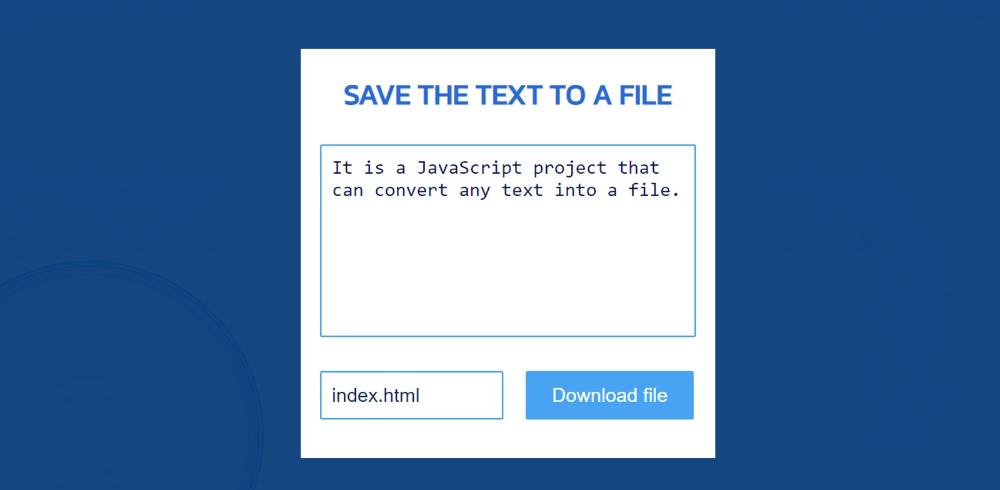
We usually use Notepad when we want to create any kind of files like HTML, CSS, or text. This project will make that task much easier. There is a small box in which you can input some text or information.
Then there is another small box where you can use the rename of your choice. Then there is a download button that will save the file by clicking on it.
Save Text to a File in JavaScript
I used JavaScript, HTML, and CSS to create this project. First, we created its basic structure using HTML CSS. Then I implemented this project (Create and Save the text file in JavaScript) using JavaScript.
See the Pen Untitled by Code Media (@codemediaweb) on CodePen.
First I designed the webpage and made a box on it. I added a heading at the beginning of this box. The h1 tag has been used to enhance this heading. Then I created a box using HTML's Textarea. In this box, you can input some text. Then create another input box in which you can add the rename of the file of your choice. Here you can create any type of file.
If you open this Create and save a file project with a browser, your content will be downloaded automatically. If you open it using a code editor, you will be asked for permission to download the file.
How to save textbox value to file using JavaScript
To build it you need to have a basic idea about HTML CSS and JavaScript. The video below will help you learn how it works.
You can also use the demo section above to know How to save form data in a Text file using JavaScript. If you just want the source code, you can use the download button at the bottom of the article. However, I request you to follow the step-by-step tutorials below.
Below I have shown step-by-step how to save text to a client-side file using JavaScript. Hereafter each step I have given possible results which will help you to understand better.
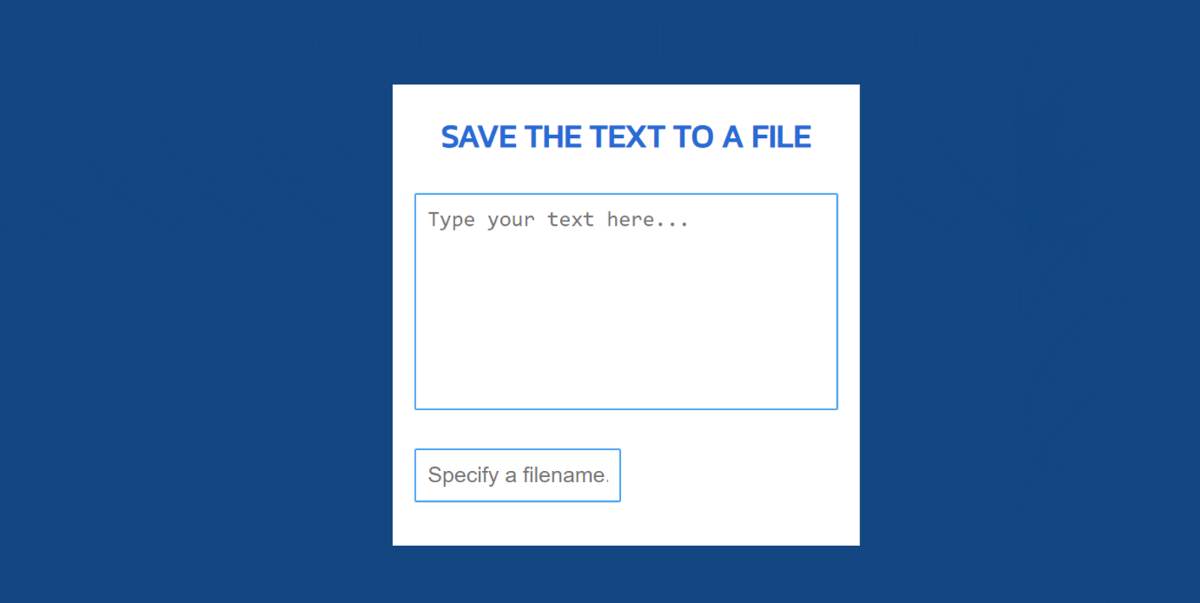
Step 1: Basic structure of Text to a File project
I have created the basics of this project (Create and Save the text file in JavaScript) using the following HTML and CSS code.
A box has been created here with width: 430px and the background color is white. Here I have used the background-color blue of the webpage.
Step 2: Add a heading using HTML
Now I have added a heading that will be at the very beginning of this box. HTML's h1 tag has been used to create this heading. I used font-size: 30px and color blue to increase the text size.
Step 3: Create a box using Textarea
Now a box has been created to input the text or contents. This box has been created with the help of HTML Textarea.
Step 4: Create a place to input the file name
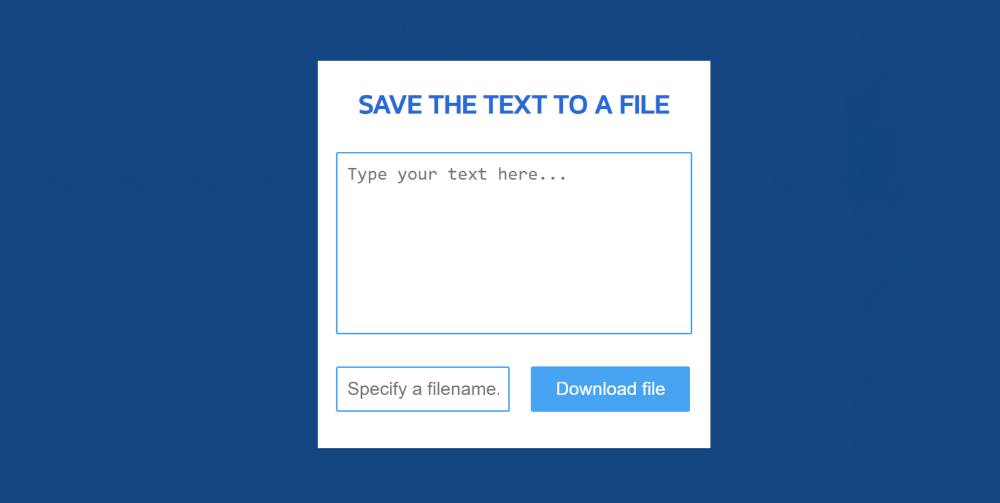
Now a box has been created to input the file name. This box is created using the input function of HTML. The width of the box is 100% and the height of the box is 50px.
Step 5: Button to save text to a file
Now it needs to create a download button. Clicking on this button will download all the text files. Box width: 174px, height: 50px and background color blue has been used.
Step 6: Save Text to a File using JavaScript
This project has been implemented using the following JavaScript. If you know Basic JavaScript, you can easily create this project (Save Textarea Text to a File using JavaScript).
Here I have put the necessary information at the top of each line why I used that code. I hope the following explanations will help you to understand this JavaScript.
If there is any problem then, of course, you can follow the video tutorial. Hopefully, the above tutorial has helped you to know how to convert text to file using JavaScript.
If there is any difficulty then you can definitely let me know by commenting. If you like this project (How to save textbox value to file) then be sure to share it with your friends.


